FusionPBX Debian 8 Install Guide
I will show how to install FusionPBX on Debian 8 as well as obtain free Let’s Encrypt SSL, and setup some basic FusionPBX settings

Overview
I will show how to install FusionPBX on Debian 8 as well as obtain free Let’s Encrypt SSL, and setup some basic FusionPBX settings.
FusionPBX Installation
Upgrade Debian 8, Install Git, download FusionPBX install script, and run it
apt-get update && apt-get upgrade -y --force-yes
apt-get install -y --force-yes git
cd /usr/src
git clone https://github.com/fusionpbx/fusionpbx-install.sh.git
chmod 755 -R /usr/src/fusionpbx-install.sh
cd /usr/src/fusionpbx-install.sh/debian
./install.sh
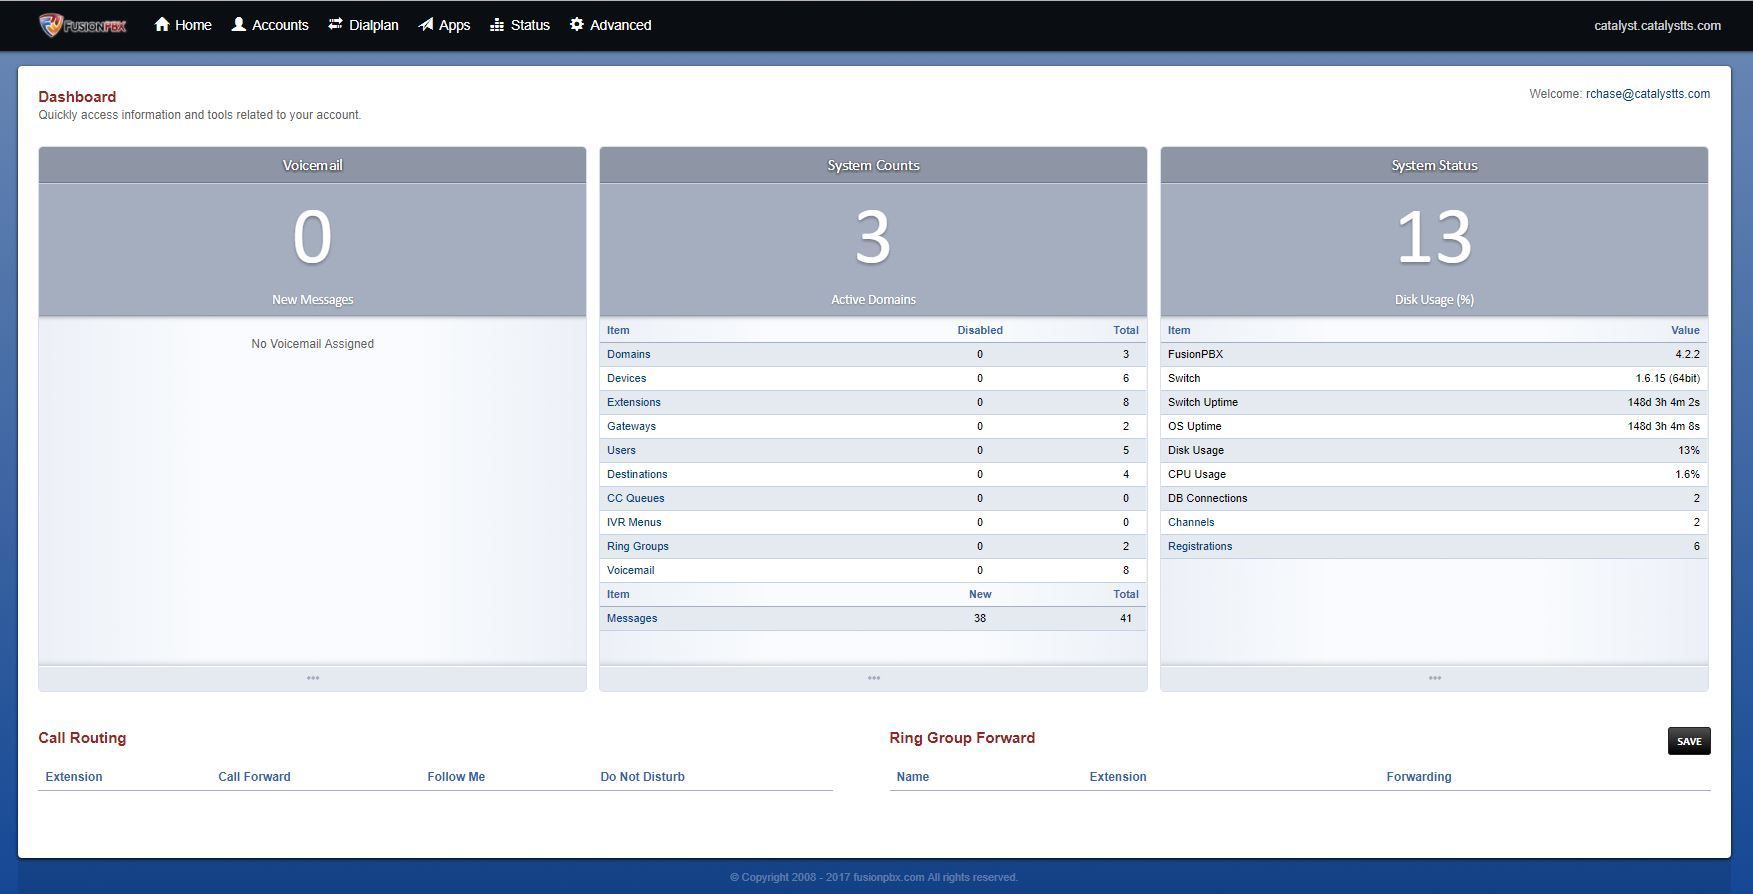
After install, use the generated username/password to login to web UI, go to the navigation and do the following
Advanced -> Upgrade, select the checkbox for App defaults then execute.
Go to Status -> SIP Status, and start the SIP profiles
Go to Advanced -> Modules, and find the module Memcached and click start.
Let’s Encrypt Installation
Install Lets Encrypt for NGINX
cd /usr/src/
git clone https://github.com/letsencrypt/letsencrypt /opt/letsencrypt
cd /opt/letsencrypt
chmod a+x ./certbot-auto
mkdir /etc/letsencrypt
cd /etc/letsencrypt/
mkdir -p configs
cd configs
Edit the default conf file Change domains = domain.tld.conf to your domain like unifi.example.com.conf. Also change email = youremail
nano /etc/letsencrypt/configs/yourdomain.com.conf
# the domain we want to get the cert for;
# technically it's possible to have multiple of this lines, but it only worked
# with one domain for me, another one only got one cert, so I would recommend
# separate config files per domain.
domains = domain.tld.conf

# increase key size
rsa-key-size = 2048 # Or 4096

# the current closed beta (as of 2015-Nov-07) is using this server
server = https://acme-v01.api.letsencrypt.org/directory

# this address will receive renewal reminders
email = youremail

# turn off the ncurses UI, we want this to be run as a cronjob
text = True
# authenticate by placing a file in the webroot (under .well-known/acme-upatechallenge/)
# and then letting LE fetch it
authenticator = webroot
webroot-path = /var/www/letsencrypt/
Next, edit FusionPBX’s NGINX configuration file
nano /etc/nginx/sites-available/fusionpbx
Add this after the ssl_ciphers line:
location /.well-known/acme-challenge {
        root /var/www/letsencrypt;
    }
Reload and check Nginx
nginx -t && nginx -s reload
That should output
nginx: the configuration file /etc/nginx/nginx.conf syntax is ok
nginx: configuration file /etc/nginx/nginx.conf test is successful
Next run the Let’s Encrypt wizard to obtain SSL cert Change domain.tld.conf to your domain like unifi.example.com.conf
cd /opt/letsencrypt
./letsencrypt-auto --config /etc/letsencrypt/configs/domain.tld.conf certonly
Comment out and add the following to NGINX config as shown below
nano  /etc/nginx/sites-available/fusionpbx

 #ssl_certificate         /etc/ssl/certs/nginx.crt;
 #ssl_certificate_key     /etc/ssl/private/nginx.key;
 ssl_certificate /etc/letsencrypt/live/domain.tld/fullchain.pem;
 ssl_certificate_key /etc/letsencrypt/live/domain.tld/privkey.pem;
Now create script to renew SSL cert automatically
cd /etc/fusionpbx
nano renew-letsencrypt.sh
Example script Change domain.tld.conf to your domain like unifi.example.com.conf
#!/bin/sh

cd /opt/letsencrypt/
./certbot-auto --config /etc/letsencrypt/configs/domain.tld.conf certonly --non-interactive --keep-until-expiring --agree-tos --quiet

if [ $? -ne 0 ]
 then
        ERRORLOG=`tail /var/log/letsencrypt/letsencrypt.log`
        echo -e "The Let's Encrypt cert has not been renewed! \n \n" \
                 $ERRORLOG
 else
        nginx -s reload
fi
Make the renwal script executable
chmod +x renew-letsencrypt.sh
Create cronjob to run it once per week
crontab -e
Add this add end of crontab file
30 2 * * 1 /etc/fusionpbx/renew-letsencrypt.sh
FusionPBX Basic Configuration
Disable or Remove IPv6 if not needed
Web GUI: Advanced > SIP Profiles > interal-ipv6
Web GUI: Advanced > SIP Profiles > external-ipv6
Enable global username
Allows you to log in to any domain from any URL as long as username is unique
Advanced > default settings -> Add > category: user
subcategory: unique
type: text
value: global
Then click Reload
Enable Provisioning
Advanced -> Default Settings
Edit Provision subcat: enabled -- change enabled: false to enabled: true
Create device provisioning whitelists
This limits the IP addresses that can download phone configurations (which contain SIP secrets). Very important security measure if not IP whitelisting at the network level already.
Advanced > default settings -> Add > category: provision
subcategory: cidr
type: array
value: ip/32
How to edit settings per domain
This is how to create domain level settings. It works the same as Advanced -> default settings, but at a domain level. For example, you can add the whitelist above to apply to a specific domain, otherwise the whitelist will apply to all domains if set in default settings.
Advanced > domains > pencil (edit) > (+) add per domain setting