iPhone Claude full stack dev - no VPN, no remote desktop

This is not going to be a guide on how to use Cursor web agents or the Claude Code iOS app because those are too limited in functionality.
The problem with those is you can't view the changes locally, you have to interact with the GitHub repo directly and push before you can see changes (to a staging server that you have to set up?). That's a lot of work, a lot of needless commits, and slow to develop on.
Instead, this is a guide on how to control your MacBook from your iPhone while anywhere, using Cursor CLI on the MacBook over SSH and viewing the locally hosted site changes on the MacBook HTTP using ngrok for both SSH and HTTP remote access to the MacBook.
I'm going to be using Laravel Herd as my local PHP/Nginx/MySQL stack on MacOS and interacting with it via SSH on my iPhone connecting to Cursor CLI on the MacBook, but the guide here can work for any local setup and any CLI based AI agent running on the MacBook.
ngrok
In macOS Terminal install ngrok
brew install ngrok
If you don't have brew, https://brew.sh/
Create an ngrok account at https://ngrok.com
Get your authtoken there
Add your auth token to ngrok in macOS Terminal
ngrok config add-authtoken YOURxAUTHTOKENxHERE
Edit the ngrok configuration to allow SSH connections when it starts up
ngrok config edit
version: 3
agent:
  authtoken: YOURxAUTHTOKENxHERE
endpoints:
  - name: my-ssh-tunnel
    url: tcp://  # tcp:// for random or input your ngrok address here
    upstream:
      url: 22 # port on macOS
CTRL+X then y then ENTER to save
Make ngrok start at boot, replace with your macOS username
sudo ngrok service install --config "/Users/YOURxMACOSxUSERNAME/Library/Application Support/ngrok/ngrok.yml"
sudo ngrok service restart
So now you can get to SSH on your Mac from anywhere by connecting to ngrok, once connected then we can run ngrok commands to view HTTP sites hosted on the Mac as well
macOS
Allow SSH connections to macOS
Enable System Settings > General > Sharing > Remote Login
Cursor CLI
You can choose to install Cursor CLI like I did or use some other thing like Claude Code. As long as you can interact with it via CLI you're good.
Install Cursor CLI
curl https://cursor.com/install -fsS | bash
Verify it installed
agent --version
Authenticate with your Cursor account
agent
iOS
Finally now we can do the thing we wanted to do - vibe from anywhere on the iPhone.
Here's how you get connected.
SSH Connection
On iOS all you're going to need is an SSH client.
You could use any SSH client, I'm going to use Termius because it's the best one.
In your ngrok account at dashboard.ngrok.com you need to create two hostnames - one HTTPS, and the other TCP.
You can do that under Universal Gateway > Domains, and Universal Gateway > TCP Addresses.
The TCP one is going to have a hostname:(port). You'll use this to connect via SSH.
The HTTPS one is going to be your local dev site URL that you can hit from your iPhone anywhere using Safari. Save both in Apple Notes so you can find them later.
In Termius you're going to create a new Host and the hostname/IP is going to be that ngrok TCP address - no port, no tcp:// just the hostname.
Then you add the port as well in the Termius Host, the port is the numbers after the colon in the ngrok TCP address.
Next you add your MacOS username and password, you could also change this later to use an SSH key instead for better security.
Then connect.
SSH Commands
Once you've SSH'd into your MacBook from your iPhone, you can make a Snippet for the following commands
A snippet is a Termius reusable code block that you can one-tap to run anytime.
If you don't have Termius you can save this in your Apple Notes and copy paste it each time you SSH in.
cd into the directory your dev site is in
cd ~/Herd/ferdinandkaufmann.com
Replace YOURxNGROKxURL below with your ngrok hostname you created earlier.
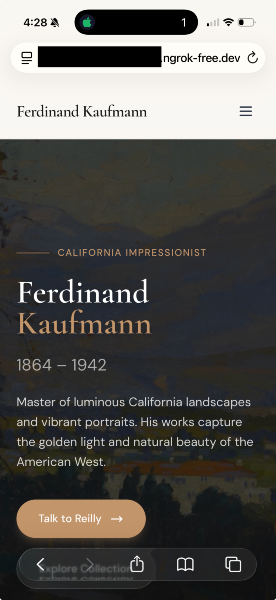
Replace YOURxLOCALxSITE below with your local site name - for me using Laravel that's http://ferdinandkaufmann.test.
ngrok http http://YOURxLOCALxSITE --host-header=rewrite --url=YOURxNGROKxURL.ngrok-free.app > /dev/null &
Change these variables for each site you work on, only one can be in use at a time.
Next, allow Cursor to run without authenticating via browser - we can't do that authentication process on iOS because it uses the macOS browser; so we unlock the keychain to allow it to use the authentication we already made on macOS earlier when we ran the agent command; replace YOURxMACOSxPASSWORD
security unlock-keychain -p "YOURxMACOSxPASSWORD" ~/Library/Keychains/login.keychain-db
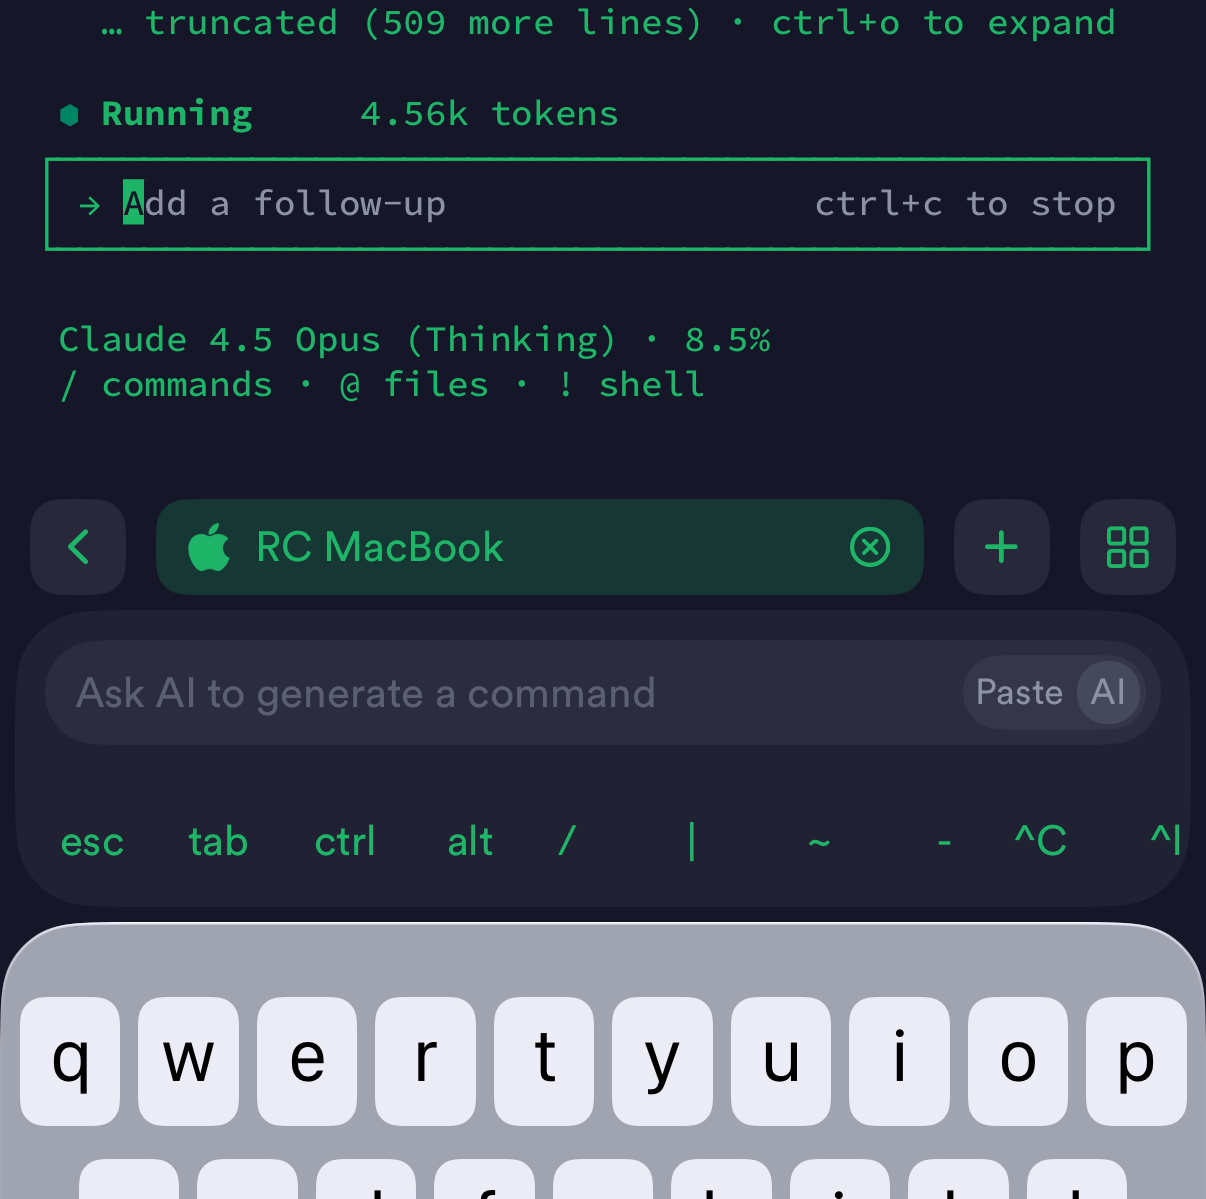
Finally, launch your Cursor CLI or whatever thing and begin to vibe!
agent
You can view the dev site at your ngrok HTTPS URL.
Security
By following this guide you are exposing your MacBook's HTTP and SSH ports to the internet which comes with certain risks. Here's how to mitigate.
Basic Security
At a minimum you should use public key auth on SSH instead of password and configure HTTP Basic Auth on your dev site to keep just anyone from being able to mess with it.
SSH key pair is outside the scope for this one (ask Grok) but here's the command for your iOS SSH snippet to launch ngrok site with HTTP Basic Auth:
ngrok http://YOURxLOCALxSITE --host-header=rewrite -basic-auth="username:strongpassword" > /dev/null &
Hardened Security
Restrict SSH to only one IP
If you want to totally harden like me here's how to restrict SSH to only your home IP (you can modify this in your ngrok dashboard when traveling), and put Google OAuth in front of the dev site.
In your ngrok dashboard under Universal Gateway > IP Policies create a New IP Policy with your home IP.
Copy the ID.
Edit your ngrok config and add this new traffic_policy section with your policy ID:
ngrok config edit
version: 3

agent:
  authtoken: YOURxAUTHTOKENxHERE
endpoints:
  - name: my-ssh-tunnel
    url: tcp://2851.tcp.ngrok.io:12653  # tcp:// for random or input your ngrok here
    upstream:
      url: 22  # Forwards to localhost:22 (SSH)
    traffic_policy:
      on_tcp_connect:
        - actions:
            - type: restrict-ips
              config:
                enforce: true
                ip_policies:
                  - YOURxIPxPOLICYxIDxFROMxNGROK
sudo ngrok service restart
You are now only able to SSH to your MacBook from this IP. When traveling or if the IP changes you can log into the ngrok dashboard and update the policy there.
Implement Google OAuth on dev site
For your iOS SSH snippet just update this line to add these two OAuth switches
ngrok http://YOURxLOCALxSITE --url=YOURxNGROKxURL --host-header=rewrite --oauth-allow-domain=YOURSITE.com --oauth=google > /dev/null &
This would allow any email from YOURSITE.com to authenticate with Google, so it doesn't work with gmail.com addresses.
Alternatively you can do HTTP Basic Auth like this:
ngrok http://YOURxLOCALxSITE --url=YOURxNGROKxURL --host-header=rewrite -basic-auth="username:strongpassword" > /dev/null &
Replace usernme and strongpassword with the creds you want to use.
Troubleshooting
If you need to, reinstall the config that runs on boot:
sudo rm -f /Library/LaunchDaemons/com.ngrok.agent.plist

sudo ngrok service install --config "/Users/rchase/Library/Application Support/ngrok/ngrok.yml"

sudo ngrok service start
That's it, enjoy the vibes.